- From your main Workday home page, hover over the Personal icon on the lefthand menu.
- Click on Benefits and Pay
- Click on Benefits
- Click on Benefit Elections
- Click on the Change Benefits button under Benefit Elections
- For the Change Reason, click on the Employee/Dependent Loses Other Coverage radio button.
- Enter the day AFTER the last day of coverage or click on the calendar and then the date. (If your spouse lost coverage on May 31, put April 1.)
- Click out of the date box and you will see how many days are left in your 60-day window.
- Drop your LOC (loss of coverage) document into the Attachments box – this document must show names of people you are attempting to add, and the coverage(s) they lost. (You cannot add someone to dental who did not previously have dental. (Those changes can be made at Open Enrollment.))If you have never covered this dependent before, you will need to provide documentation to show your legal relationship with them (marriage certificate (official not commemorative) for a spouse, or birth certificates for dependent children).
- Click the blue Submit button at the bottom of the screen.
- Click the Open button in the ‘You have submitted’ pop up window.
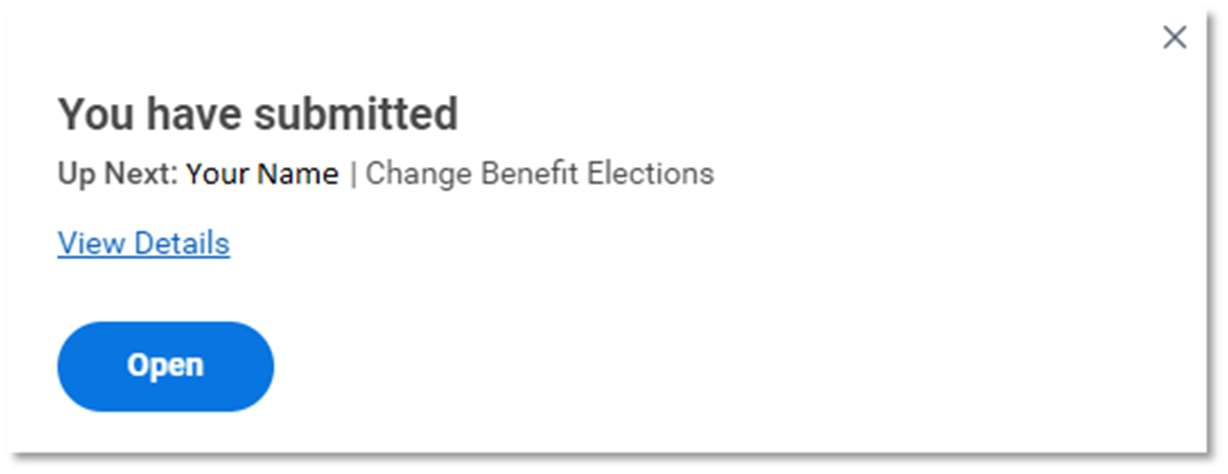
OR – 11a. Alternatively, the enrollment will be on your home screen in the Awaiting Your Action section, click on it.
OR – 11b. Alternatively, you can find it in your My Tasks inbox at the top right.
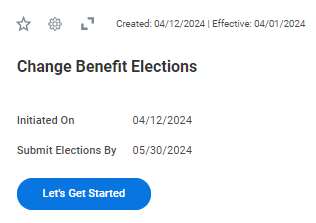
- Once you click in, you will click on the Let’s Get Started button.
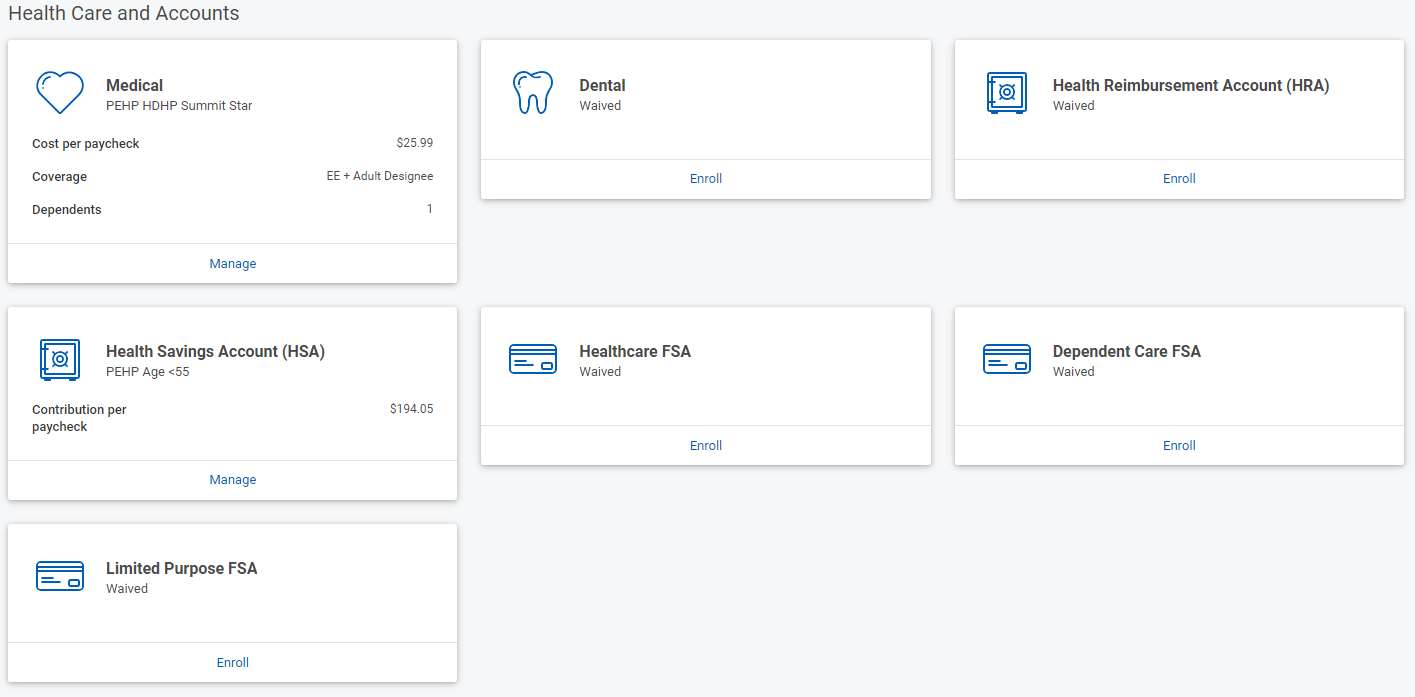
- Below that are the enrollment worklets. The Health Care options (Medical, Dental, HRA, HSA, Healthcare FSA, Dependent Care FSA, and Limited Purpose FSA)
- Click on manage of the Medical worklet (if desired).
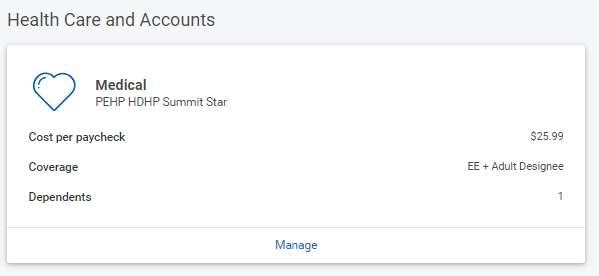
- You will see your current coverage. Leave the “Select” button chosen.
- Click Confirm and Continue (you add new dependent on next page).
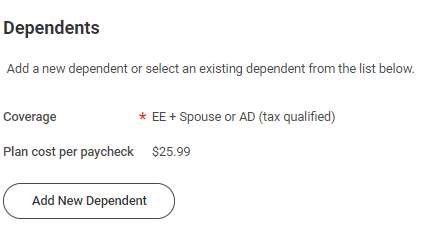
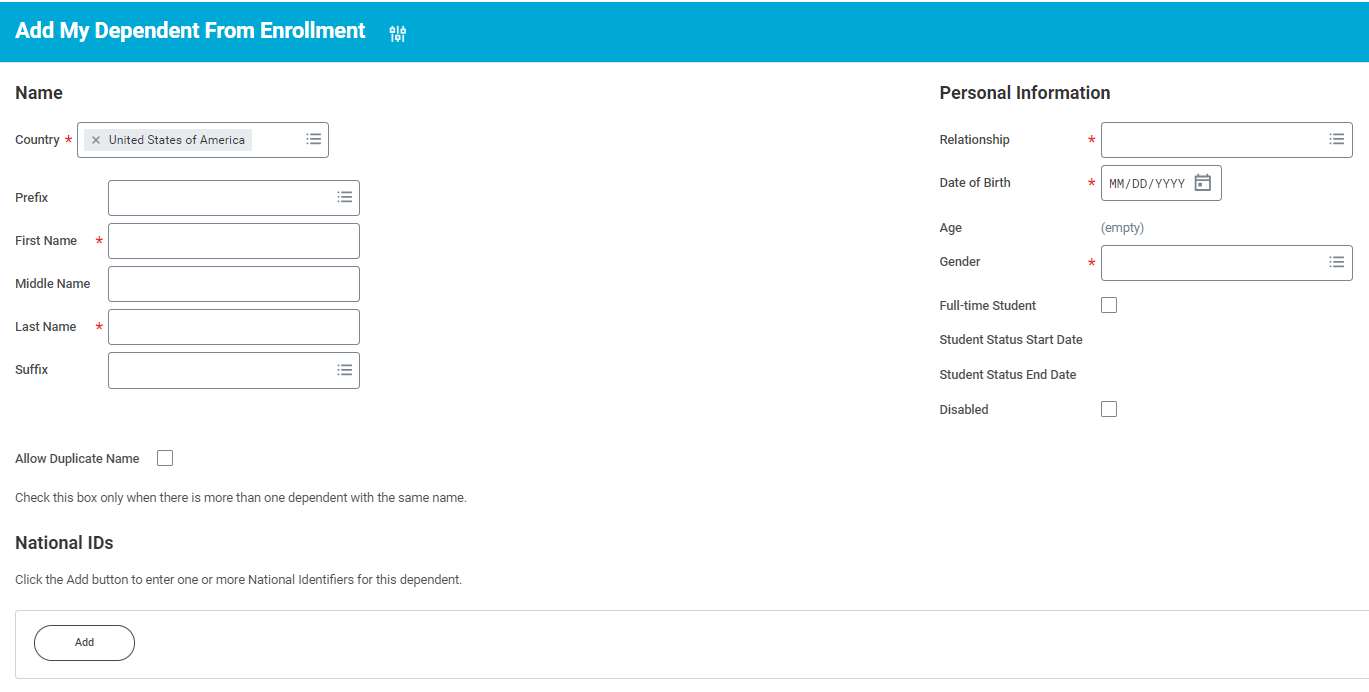
- Click the Add New Dependent button.
- Check the checkbox on Use as Beneficiary, if you’d also like dependent to be a beneficiary (please note, PEHP will not pay out claims to minors).
- Click OK
- You will need to enter the following information for your dependent:
- First Name (use legal name – this is an insurance record)
- Last Name
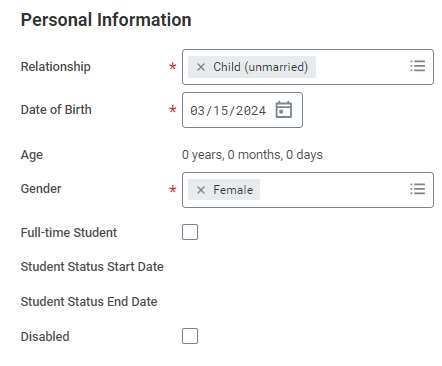
- Relationship (marital status is the marital status of the child, not you)
- Date of Birth – be sure this is correct
- Gender
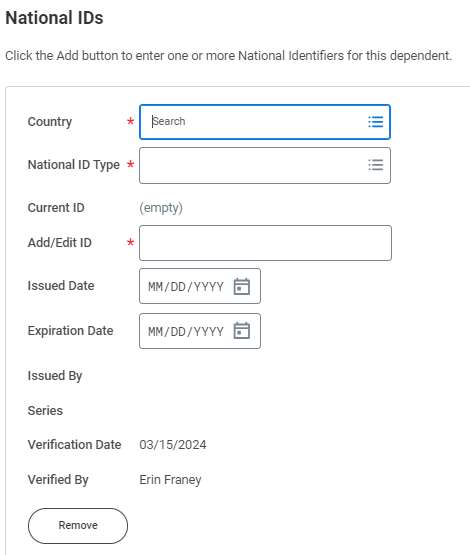
- National ID – this is the social security number, PEHP will need this number for billing purposes)
- Address
If your child is unmarried, choose “Child (unmarried).” (It is the child’s marital status, not yours.)
- To add the social, click on the Add button.
- In the Country box, click on “Frequently Used.” Once you click out of the social security number box, the numbers will turn to XXXXXXXXX, this is for security purposes.
- You will need to add an address for your dependent. Be sure to click on the usage type (Home or Office)
- Click into each worklet for which you are eligible and want to enroll dependent.
- Click Review and Sign button when you have added baby to desired (and eligible) enrollments.
- Review your enrollment for accuracy (top of screen).
- If you did not add the LOC document and required proof of relationship at the beginning of the enrollment, add it now to the attachments section.
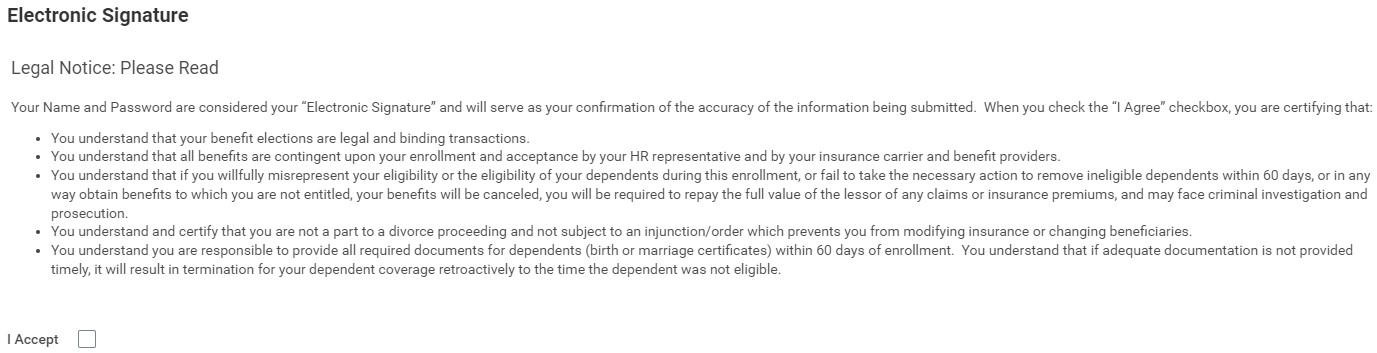
- Scroll down, read through the Legal Disclosure.
- Click the “I Accept” box.
- Click the Submit button.


Questions? Run into problems?
Email us for assistance – Benefi[email protected] Or call – 801-535-6600